.png?size=md)
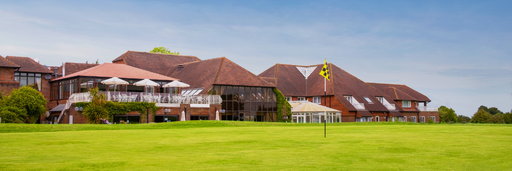
Hole 3
White
361 yds
Yellow
334 yds
Red
303 yds
Par 4
Stroke index 12
Accuracy is more important than distance on this short four. The tee shot should favour the left side to avoid the bunkers on the right. Providing you take enough club the second will be fairly simple to a green that is raised and guarded by two small ponds on the left and a large bunker at the front.
Hole layout map
